TL;DR:
- Effective soffit lighting design involves careful planning, correct fixture selection, and safe electrical installation to enhance curb appeal, security, and property value. Proper layout, fixture choice, and sealing prevent common issues like uneven lighting, moisture damage, and wiring problems. Regular maintenance and smart controls extend the system's lifespan and ensure consistent performance.
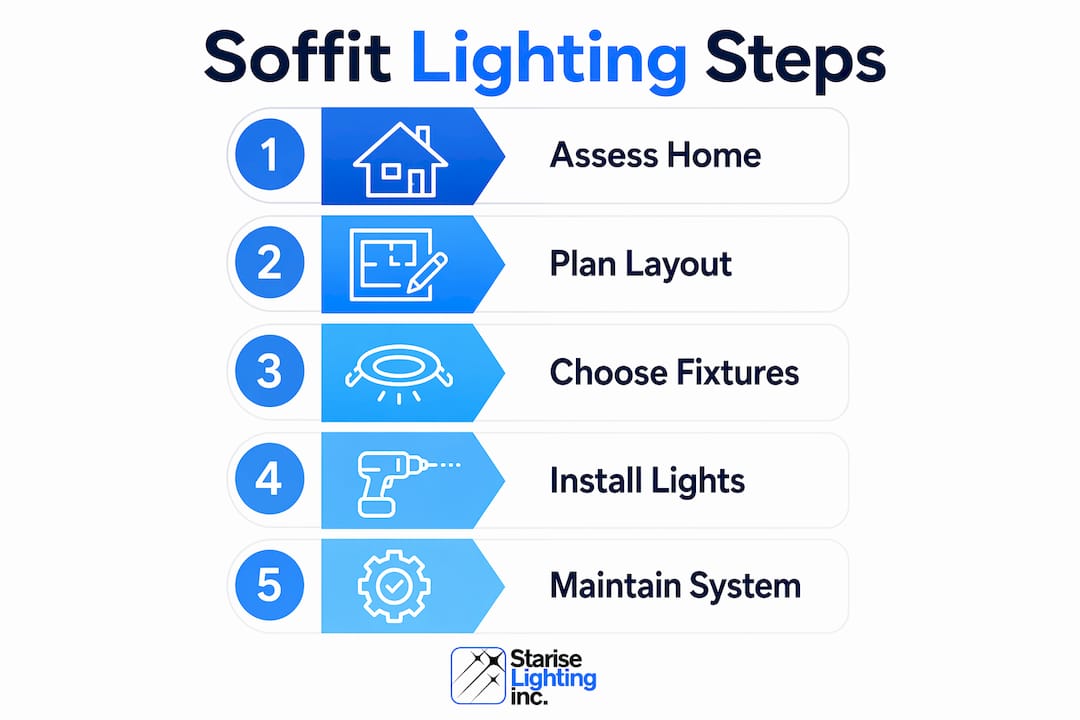
Step by step soffit lighting design is the process of planning, selecting, and installing recessed or surface-mounted lights in your home's soffits to create ambient exterior illumination that improves curb appeal, security, and property value. Industry professionals refer to this as exterior ambient lighting design, and the two terms are used interchangeably throughout this guide. Done correctly, the process moves through four clear phases: layout planning, fixture selection, electrical installation, and ongoing maintenance. Each phase builds on the last, and skipping any one of them is the most common reason homeowners end up with uneven light, moisture damage, or costly rewiring. This guide walks you through every phase with the specificity you need to get it right the first time.
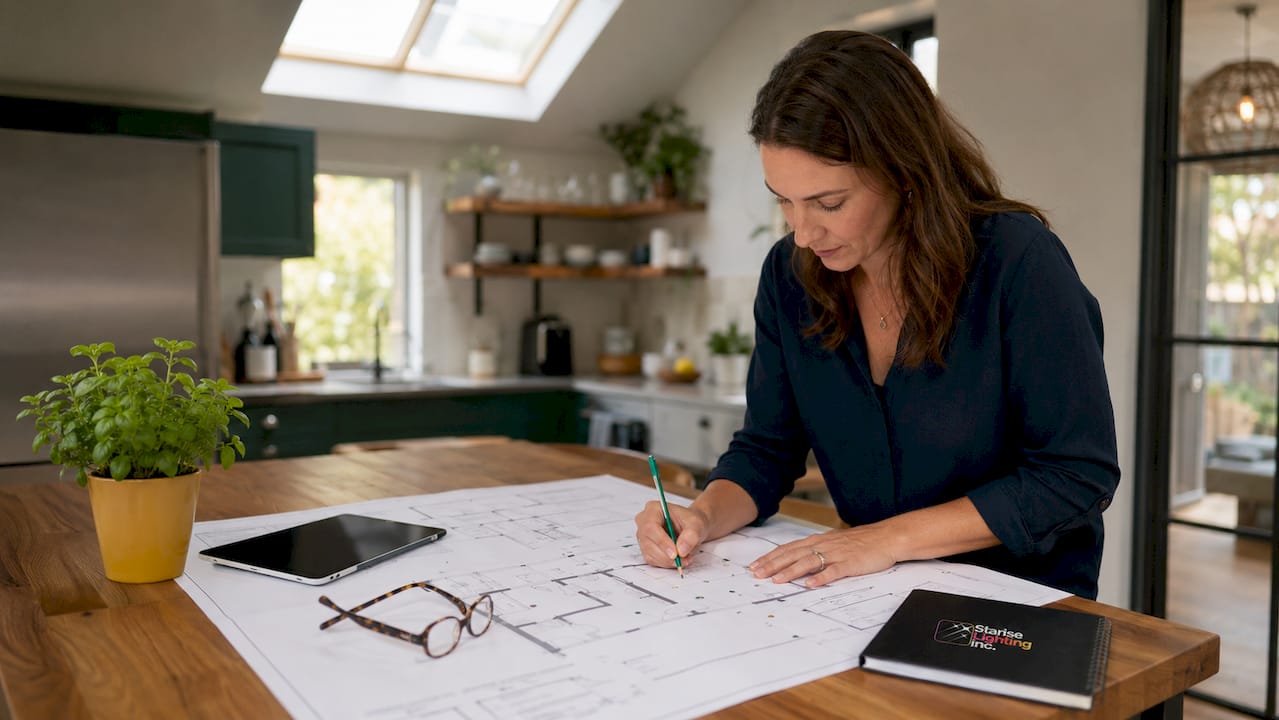
How do you plan a soffit lighting layout?
Layout planning is the foundation of any successful soffit lighting process, and planning upfront for fixture spacing, electrical load, and wiring paths avoids costly mistakes and callbacks. Before you pick a single fixture, walk the perimeter of your home and note the architectural features worth highlighting: roofline transitions, garage faces, entryways, and any landscaping you want to graze with light.
Assess your home type first
Bungalows, two-storey homes, and modern flat-roof designs each call for a different approach. A bungalow with a wide, low soffit benefits from tighter spacing to keep the light even across a long horizontal run. A two-storey with a steep roofline needs fixtures angled slightly outward to wash the facade rather than point straight down at the ground.
Spacing standards that actually work
Standard fixture spacing is 6–8 feet for typical ambient coverage, with wide-beam LED fixtures spaced 10–12 feet apart where the soffit is deep or the facade finish is light-coloured. That range matters because spacing too tightly creates a runway effect, while spacing too loosely leaves dark patches between pools of light. Mark your planned fixture positions with painter's tape on the soffit before committing to any cuts.
Strategic placement goes beyond even spacing. Cluster fixtures slightly closer together above entryways and garage doors, where security and visual impact matter most. Pull them back to the wider end of the spacing range along plain wall sections where you want a softer wash. For pathways and landscaping below, angle fixtures at 15–30 degrees toward the ground rather than mounting them perfectly vertical.
Pro Tip: Sketch your layout on graph paper or use a free floor plan app like RoomSketcher before touching a drill. A 10-minute sketch prevents a two-hour rework.
What fixtures and colour temperature should you choose?
The right fixture for your soffit depends on three factors: mounting style, IP rating, and colour temperature. Getting all three right means your lights look intentional rather than afterthought.
Fixture types at a glance
- Recessed LED downlights are the most popular choice for finished soffits. They sit flush, shed water naturally, and produce a clean cone of light.
- Surface-mounted fixtures work where the soffit cavity is too shallow for recessed cans, or where you want a more decorative look.
- LED strip lighting suits modern homes with continuous linear soffits, producing a uniform glow along the entire roofline edge.
Every outdoor soffit fixture must carry an IP65 rating or higher. IP65 means the fixture is fully dust-tight and protected against low-pressure water jets from any direction. Calgary winters, with their freeze-thaw cycles and blowing snow, will destroy any fixture rated below that threshold within two seasons.
Colour temperature by home style
Warm white at 2700K–3000K suits brick, wood, and traditional exteriors, flattering the warm tones already present in those materials. Neutral white at 3500K–4000K works well for mixed-material homes or craftsman styles where you want clarity without harshness. Cool white at 5000K is the right call for modern, stone-clad, or minimalist homes where crisp contrast is part of the design language. Matching colour temperature to your home's exterior style is one of the fastest ways to make a lighting scheme look professionally designed rather than DIY.
Pro Tip: Buy one fixture in your chosen colour temperature and mount it temporarily with clamps before purchasing the full set. What looks warm in a showroom can read differently against your specific siding colour at night.
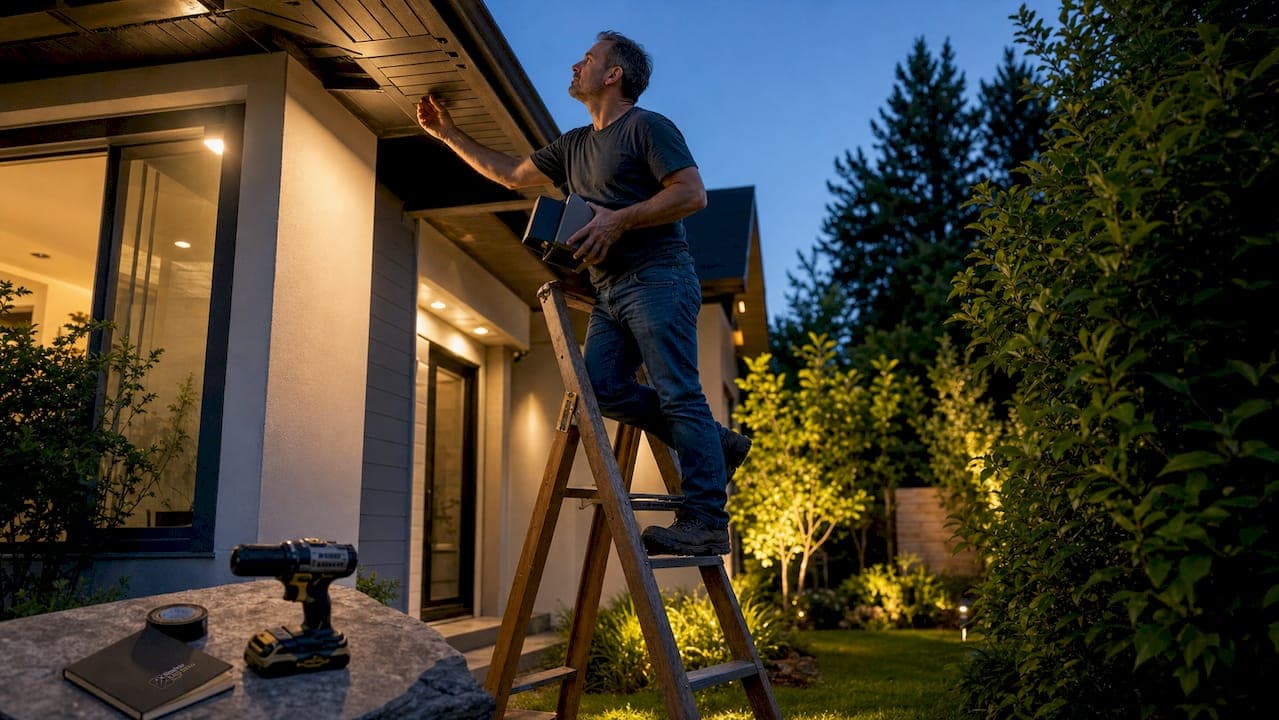
How do you install soffit lights step by step?
Electrical installation is where most DIY soffit lighting projects go wrong. Follow this sequence carefully, and do not skip the safety steps.
- Cut power at the breaker. Use a non-contact voltage tester at the outlet or junction box you plan to tap before touching any wiring. Confirm the circuit is dead twice.
- Map your wiring route. Locate attic wiring paths before drilling any holes to avoid obstructions like vents, insulation batts, or existing conduit. A flexible drill bit extension and a headlamp make this step much faster.
- Cut fixture openings. Use a hole saw sized to your fixture's trim ring. Cut slowly and keep the saw perpendicular to the soffit surface to avoid oval openings that won't seal properly.
- Run and secure wiring. Staple cable inside the attic or soffit cavity every 18 inches, maintaining at least 1.5 inches of clearance from soffit edges. That clearance prevents screws and trim rings from nicking the insulation during final installation.
- Connect fixtures with weather-rated components. Use waterproof wire connectors rated for outdoor use. Standard twist-on wire nuts are not acceptable in a soffit cavity exposed to temperature swings and moisture.
- Seal around each fixture. Apply exterior-rated polyurethane caulk around the fixture trim ring, not standard latex caulk. Latex fails under thermal cycling and allows water infiltration that corrodes the fixture housing within a year or two.
- Test before installing trim rings. Restore power at the breaker and verify each fixture illuminates correctly. Troubleshoot any dark fixtures now, while access is still easy.
- Install trim rings and finish. Snap or screw trim rings into place once every fixture passes the test.
Safety note: Local electrical codes vary across Canadian municipalities. Contact your local building department before starting to confirm whether a permit is required and whether exterior wiring must be completed by a licensed electrician. That call takes less than five minutes and protects you from compliance issues at resale.
Pro Tip: Label each circuit breaker before you start. When you are working in the attic and need to kill power quickly, clear labels save time and prevent mistakes.
What are the most common soffit lighting mistakes?
Most soffit lighting problems trace back to three categories: spacing errors, sealant failures, and power management oversights.
- Over-lighting the roofline. Installing too many fixtures destroys the soft halo effect that makes soffit lighting attractive. The goal is a gentle wash of light, not a stadium. If your roofline looks like a runway, you have too many fixtures or too high a wattage.
- Using the wrong sealant. Standard latex caulk shrinks and cracks under freeze-thaw cycles. Polyurethane caulk is the correct product for exterior soffit applications, full stop.
- Undersizing the transformer. Transformer capacity must include 20–30% headroom above your total fixture load. Without that buffer, voltage drop across longer runs causes fixtures at the far end of the circuit to appear dimmer than those near the source. Power injection at mid-run points corrects this on longer installations.
- Ignoring electrical code. Some Canadian jurisdictions require a licensed electrician for any exterior wiring. Skipping this step can void your home insurance and create problems when you sell. Check permit requirements before you start, not after.
- Skipping app-controlled dimmers. Fixed-brightness soffit lights look flat and waste energy. A smart dimmer lets you dial down to 30% on quiet evenings and ramp up to full brightness for security or entertaining.
The most preventable soffit lighting failure is moisture damage from improper sealing. One tube of polyurethane caulk costs under $15 and protects hundreds of dollars in fixtures.
How do smart controls and maintenance extend your lighting's life?
Smart lighting controls are now standard in well-designed soffit installations, providing adjustable brightness and energy savings tailored to your schedule. A quality smart dimmer paired with a lighting control app lets you set sunrise and sunset schedules, create seasonal colour scenes, and monitor energy use from your phone.
Routine maintenance keeps your installation performing at its best:
- Inspect fixtures twice a year, ideally in spring and autumn, for cracked caulk, corrosion on trim rings, or discolouration inside the lens that signals moisture infiltration.
- Check wiring connections in the attic after any major weather event. Calgary's freeze-thaw cycles can work staples loose over time.
- Clean lenses with a damp cloth to remove dust and insect debris that reduces light output. Dirty lenses can cut effective brightness by 15–20% without any fixture failure.
- Upgrade dimmers and controls every 5–7 years as smart home technology advances. The fixtures themselves may last 25,000–50,000 hours, but control hardware evolves faster.
Pro Tip: Set a recurring calendar reminder for your biannual inspection. Catching a cracked caulk bead in spring costs $5 to fix. Missing it until autumn means water has been sitting behind your trim ring all summer.
Key takeaways
Effective soffit lighting design requires precise planning, correct fixture selection, and safe electrical installation to deliver lasting curb appeal, security, and property value.
| Point | Details |
|---|---|
| Plan layout before drilling | Map fixture positions and wiring routes upfront to avoid rework and obstructions. |
| Match colour temperature to style | Use 2700K–3000K for traditional homes and 3500K–5000K for modern exteriors. |
| Follow wiring best practices | Staple cable every 18 inches with 1.5-inch edge clearance and use weather-rated connectors. |
| Size your transformer correctly | Build in 20–30% capacity headroom to prevent voltage drop and uneven brightness. |
| Seal with polyurethane caulk | Polyurethane outperforms latex in freeze-thaw conditions and protects fixtures long-term. |
What i've learned after seeing hundreds of soffit lighting projects
The single biggest mistake I see homeowners make is treating soffit lighting as a purely electrical task rather than a design task. They focus entirely on getting the wiring right and never stop to ask whether the fixture spacing actually flatters the home's proportions. The result is technically functional lighting that looks wrong every night.
The second thing I've noticed is that people consistently underestimate how much the colour temperature decision matters. I've seen beautiful brick homes lit with 5000K cool white fixtures that make the facade look clinical and cold. Switching to 2700K on the same home is a transformation. That single decision costs nothing extra and changes everything about how the house reads from the street.
My honest recommendation: spend as much time on the design phase as you do on the installation phase. Sketch the layout. Buy one test fixture. Live with it for a night before committing. And if the electrical side of the project feels beyond your comfort level, hire a licensed electrician for that portion. The design decisions are yours to make. The wiring safety is not worth compromising. For exterior lighting inspiration before you finalise your plan, a good reference library of real homes makes the design phase far more concrete.
Soffit lighting done well is one of the highest-return exterior upgrades a homeowner can make. Done poorly, it is an expensive source of frustration. The gap between those two outcomes is almost always planning.
— Starise
Permanent soffit lighting solutions from Co-starise
If you want soffit lighting that performs through Calgary winters without annual maintenance headaches, Co-starise builds permanent exterior lighting systems using Gen 2 24V LED technology rated for exactly that environment. Every installation is weatherproof, app-controlled, and designed to last.

Co-starise's permanent lighting systems include full customisation of colour temperature, brightness scheduling, and seasonal lighting effects, all managed from a single app. For homeowners in the Calgary region who want professional design, compliant installation, and a system that adds measurable value to their property, Co-starise offers a no-obligation quote to get you started. You can also explore residential exterior lighting ideas specific to Calgary homes before booking your consultation.
FAQ
What is the standard spacing for soffit lights?
Standard soffit light spacing is 6–8 feet for typical ambient coverage. Wide-beam LED fixtures can be spaced 10–12 feet apart without creating dark patches between them.
What colour temperature is best for outdoor soffit lighting?
Warm white at 2700K–3000K suits traditional brick or wood exteriors. Neutral to cool white at 3500K–5000K works best for modern or stone-clad homes.
Do i need a permit to install soffit lighting in canada?
Permit requirements vary by municipality. Contact your local building department before starting, as some Canadian jurisdictions require a licensed electrician for exterior wiring.
How do i prevent moisture damage in soffit light fixtures?
Seal around every fixture trim ring with exterior-rated polyurethane caulk, not standard latex. Polyurethane holds up under freeze-thaw cycles where latex cracks and allows water infiltration.
How many soffit lights do i need for my home?
Divide the linear footage of your soffit by your chosen spacing interval (6–8 feet for standard density) to get your fixture count. Add one fixture above each entryway or garage door for security emphasis.