
TL;DR:
- Most homeowners believe brighter lights automatically improve outdoor coverage, but proper placement and optics are essential. Effective coverage depends on how light lands and spreads, not just lumens, and requires careful planning, measurement, and compliance with local bylaws. Regular review and professional systems ensure ongoing security, curb appeal, and adherence to Calgary regulations.
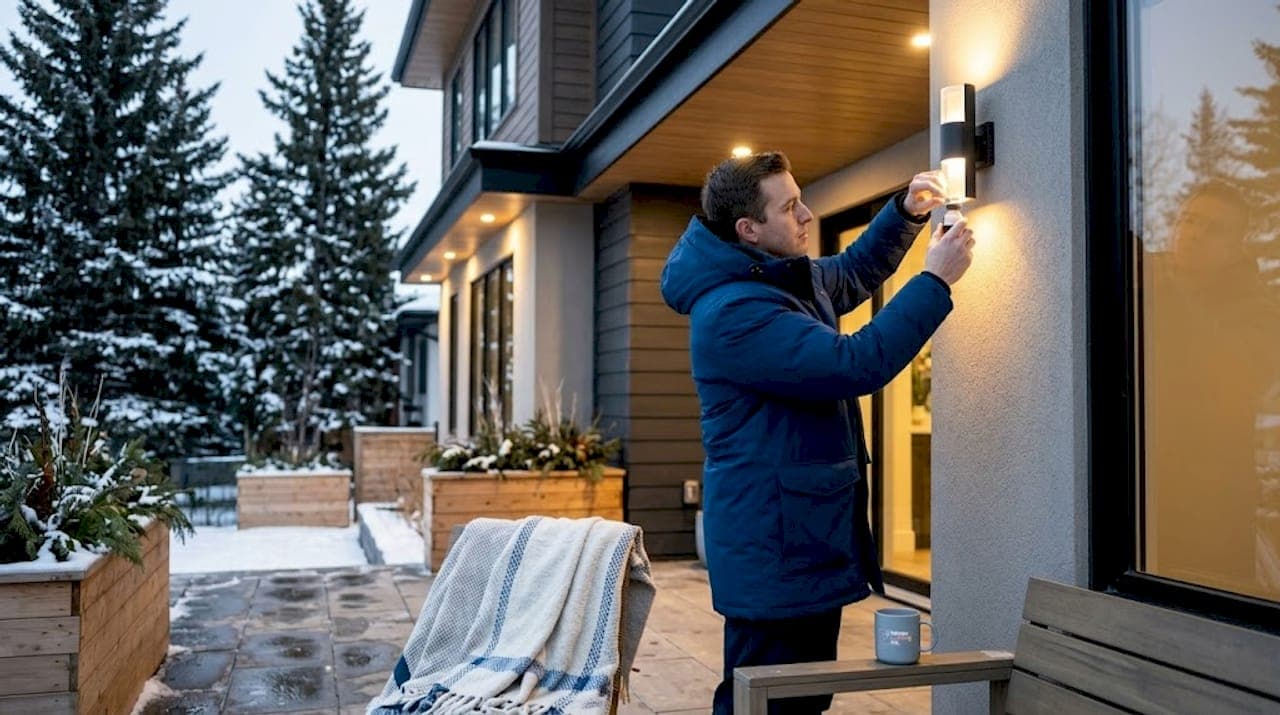
Most homeowners assume that buying a brighter light solves outdoor lighting problems. More watts, more lumens, more safety. That thinking is what leads to dark corners near the garage, glare aimed straight at a neighbour's window, and a security camera capturing nothing but shadows. What is exterior light coverage, really? It is not about brightness alone. It is about where light actually lands, how evenly it spreads, and whether your fixture's optics and placement are doing the work your property needs. For Calgary homeowners navigating harsh winters, local bylaws, and curb appeal goals all at once, getting coverage right is the foundation everything else builds on.
Table of Contents
- Understanding exterior light coverage and its components
- How coverage affects security and safety on your property
- Measuring and planning for effective exterior light coverage
- Calgary-specific rules and implications for exterior light coverage
- Choosing and positioning fixtures to optimise coverage and curb appeal
- The overlooked truth about exterior light coverage for Calgary homeowners
- Discover permanent exterior lighting solutions designed for Calgary homes
- Frequently asked questions
Key Takeaways
| Point | Details |
|---|---|
| Coverage is more than brightness | Light distribution and optics control how well a fixture illuminates your property, not just lumens. |
| Measure uniformity and illuminance | Evaluating minimum light levels and uniformity ensures safety, avoiding dark spots and glare. |
| Calgary’s bylaws matter | Outdoor lighting must prevent light trespass and glare to neighbours, with fines for violations. |
| Fixture placement is crucial | Mounting height and beam angle affect how far and evenly light spreads across your property. |
| Layered planning prevents issues | Design lighting in layers and validate with measurements to avoid surprises and maximise security. |
Understanding exterior light coverage and its components
Exterior light coverage describes how light is distributed across an outdoor space, not simply how much light a fixture produces. A 2,000-lumen floodlight aimed at the sky covers nothing useful. A well-aimed 800-lumen fixture with the right lens can illuminate an entire driveway evenly. The distinction matters because light distribution is shaped more by a fixture's optics than by its lumen output or wattage.
Three components define coverage in practice:
- Optics: Lenses and reflectors inside a fixture shape the beam. A parabolic reflector concentrates light forward; a diffusing lens spreads it wide. Cheap fixtures often skip quality optics, which is why two fixtures with identical ratings can perform completely differently outdoors.
- Beam angle: This is the angle within which the fixture delivers most of its usable light. A narrow beam (15 to 30 degrees) concentrates light on a small area with high intensity. A wide beam (90 to 120 degrees) covers a larger zone but with lower intensity per square metre.
- Aiming and distribution: Even a fixture with excellent optics fails if it is pointed in the wrong direction. Coverage is a combination of what a fixture can do and how it is installed.
Understanding these fundamentals of residential outdoor lighting basics helps you stop comparing products by watts alone and start evaluating them by how they actually perform on a real property.
Pro Tip: When comparing fixtures, ask for the beam angle and the IES file (a digital file containing the fixture's light distribution data) rather than just the lumen count. This tells you far more about how the light will actually behave.
How coverage affects security and safety on your property
With the technical concepts clear, let us look at how coverage translates directly to protecting your home. The outdoor lighting coverage area is the physical space your fixture actually illuminates to a useful level. That area shifts depending on four factors: bulb type, installation height, fixture design, and property layout. Change any one of them and your coverage changes too.
Mounting height has an especially large effect. A fixture mounted at 3 metres will concentrate light close to the base. Raise that same fixture to 6 metres and the light spreads across a wider radius, though with slightly reduced intensity at ground level. For side entrances, back gates, and driveways, getting this height right is the difference between a lit path and a well-covered zone.
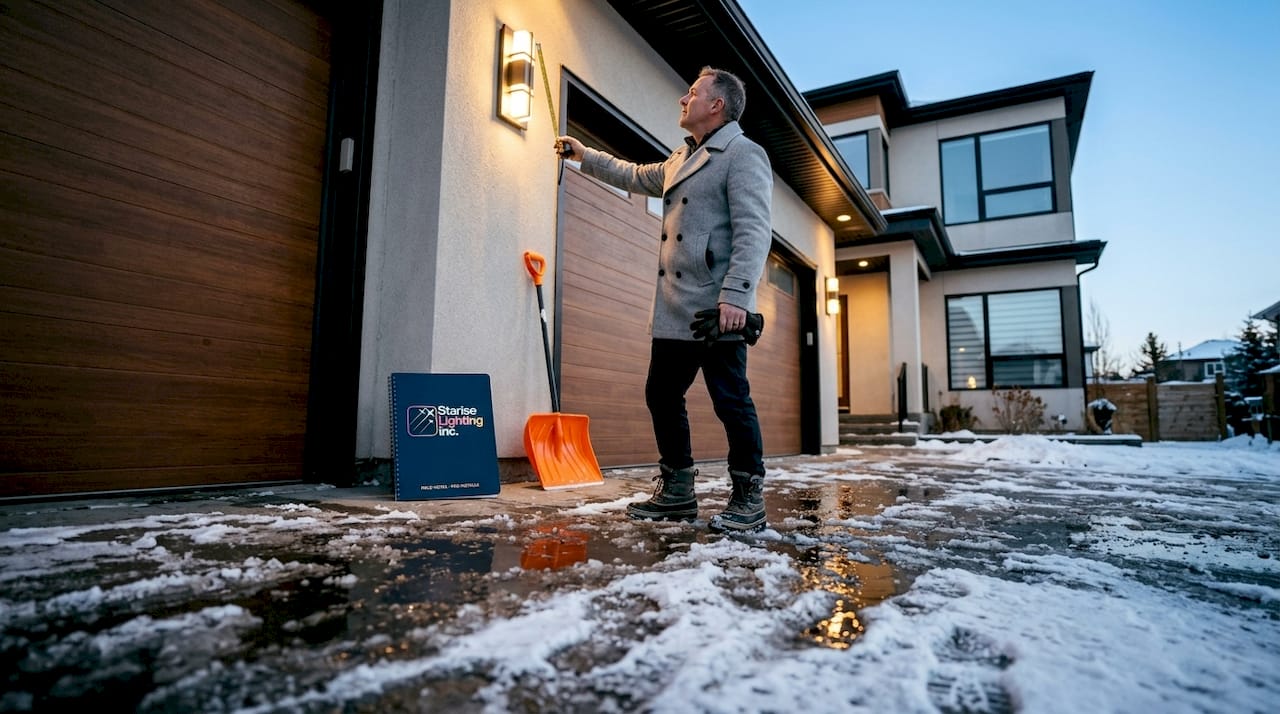
Dark spots are where security problems live. A porch light that covers the front door brilliantly but leaves the side of the house in shadow creates a predictable blind spot. Proper fixture design and thoughtful placement close those gaps.
Here is a practical approach to identifying coverage gaps on your property:
- Walk your property at night with the lights on and note every area that feels dim or shadowed.
- Pay attention to entry points: gates, side doors, garage entries, and basement windows.
- Look for harsh transitions between bright zones and dark zones, which create glare and reduce visibility.
- Check whether motion-activated fixtures cover the full approach path, not just the final metre before the door.
Uniformity is the quality most homeowners never think to check. Even lighting without dramatic bright and dark contrast is what security systems and the human eye both rely on. A space lit to 50 lux everywhere is far more useful than one spot at 300 lux next to complete darkness.
Reviewing how to improve home safety with LED lighting gives you a broader picture of how safety and coverage connect in a residential context.
Measuring and planning for effective exterior light coverage
Understanding what coverage looks like physically is important, but measuring it accurately is key to planning. The standard unit for measuring how to measure outdoor light is illuminance, expressed in lux (metric) or foot-candles (imperial). One foot-candle equals approximately 10.76 lux. For residential driveways and walkways, a target of 5 to 10 lux is common; for entry doors and security-critical areas, 20 to 50 lux is more appropriate.
Uniformity ratio is the metric that separates good coverage planning from guesswork. It compares the maximum illuminance to the minimum illuminance across a space. A ratio of 4:1 or lower means the space is relatively evenly lit. A ratio of 10:1 or higher means you have hot spots and near-dark zones in the same area.
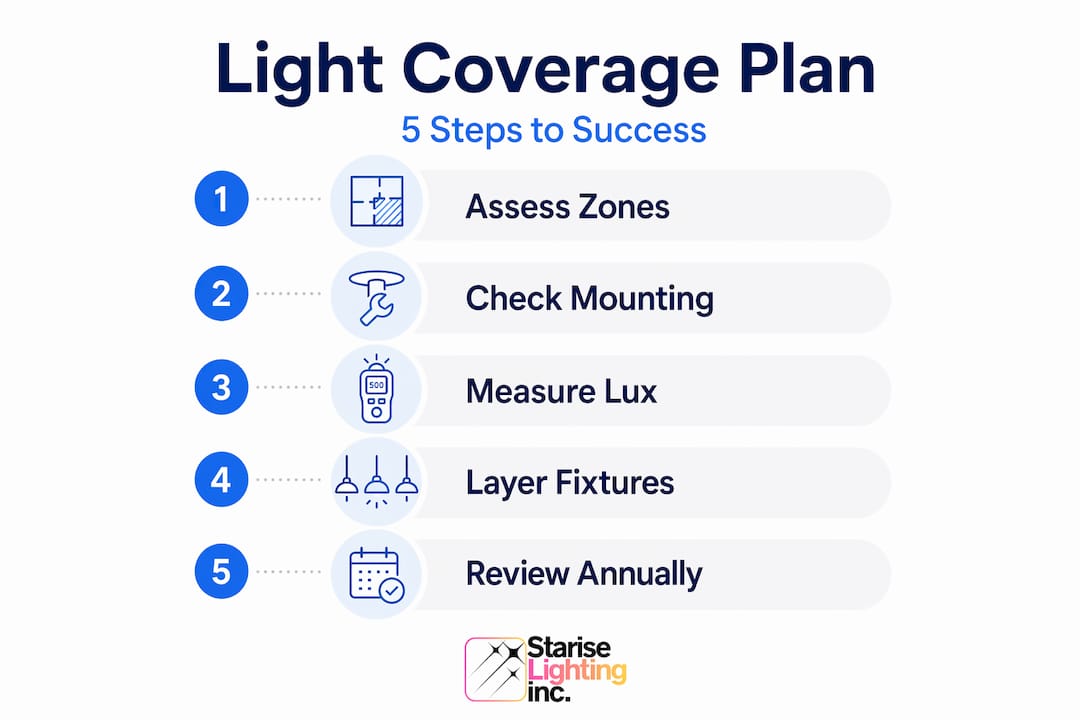
Here is how to measure and validate your coverage before committing to a final installation:
- Map your property to scale. Sketch the footprint of your home, driveway, walkways, and garden beds on paper or a simple app. Mark all proposed fixture locations.
- Identify measurement points. Place measurement points every 2 metres across areas you want covered. Include boundary points, task areas (doorways, parking spaces), and transition zones.
- Take readings with a light metre. Hold the sensor horizontally at ground level at each point after dark. Record the lux reading at each location.
- Calculate your uniformity ratio. Divide the maximum reading by the minimum reading. If the ratio is above 4:1, you need to adjust fixture placement, beam angles, or add supplemental fixtures.
- Validate with photometric data. Photometric reports and IES files show you predicted coverage before you install anything. Reputable fixture manufacturers provide these on request.
| Area of property | Recommended illuminance | Acceptable uniformity ratio |
|---|---|---|
| Driveway | 5 to 10 lux | 4:1 or lower |
| Walkways and paths | 5 to 10 lux | 4:1 or lower |
| Entry doors | 20 to 50 lux | 3:1 or lower |
| Security-critical zones | 30 to 100 lux | 3:1 or lower |
| Decorative garden features | 10 to 30 lux | Flexible |
The home exterior lighting checklist walks you through each zone of your property so nothing gets missed during planning.
Pro Tip: A light metre app on your smartphone gives rough readings that are good enough for residential planning. Dedicated light metres are more accurate, but even a free app will reveal dramatic uniformity problems before you finalise placement.
Calgary-specific rules and implications for exterior light coverage
With measurement techniques covered, local rules are the next essential layer of exterior lighting explained correctly for Calgary homeowners. The City of Calgary has clear expectations around outdoor lighting, and getting coverage wrong can put you in violation even if your security goals are perfectly reasonable.
The core issues are light trespass (your light crossing your property line and entering a neighbour's window or yard) and glare (light shining at angles that cause visual discomfort or impair visibility). Both are regulated, and outdoor lights must not shine directly into a neighbour's home, with fines ranging from $100 to $300 for non-compliance.
Light trespass is not just a bylaw concern. It damages neighbour relationships, and those complaints rarely resolve quickly or quietly. A well-planned coverage design costs less in the long run than one complaint to the City followed by a forced reinstallation.
Practical steps to stay compliant while maintaining solid coverage:
- Use full cut-off fixtures that direct light downward only, preventing sideways and upward spill.
- Aim fixtures inward toward your property, not outward toward the street or adjacent lots.
- Use shields or barn door attachments on fixtures near property lines to control the beam boundary precisely.
- Keep wall-mounted fixtures lower rather than higher when they face toward neighbouring properties.
- If you are using accent or decorative lighting, choose fixtures with directional heads rather than omnidirectional bulbs.
Reviewing the Calgary exterior lighting compliance guide gives you a thorough breakdown of what the City expects and how to design around it from the start.
Choosing and positioning fixtures to optimise coverage and curb appeal
Now that you know how regulations affect coverage, let us look at practical fixture choices and placement. The outdoor light placement guide most homeowners need starts with understanding how beam angle and mounting height interact.
Beam angle and mounting height work together to determine the size and intensity of your coverage area. Wider angles cover more ground but spread the light thinner. Narrower angles concentrate light on smaller areas with more intensity.
| Beam angle | Mounting height | Coverage diameter (approx.) | Best use |
|---|---|---|---|
| 15 to 30 degrees | 3 metres | 1.5 to 3 metres | Accent lighting, feature trees |
| 60 degrees | 3 metres | 3 to 4 metres | Entry doors, pathways |
| 90 degrees | 4 metres | 6 to 8 metres | Driveways, large garden areas |
| 120 degrees | 5 metres | 10 to 12 metres | Open garage frontage, wide coverage zones |
Fixture types that work well for both security and curb appeal:
- Permanent LED soffit lights: Installed once under the roofline, these provide even downward coverage with minimal glare and excellent compliance with Calgary bylaws.
- Wall-mounted lanterns: Strong for entry coverage and visual warmth at low to moderate mounting heights.
- Ground-level path lights: Ideal for walkway safety and soft accent coverage at very low intensity.
- Directional spotlights: Best for architectural features and trees where narrow beams add depth without flooding adjacent areas.
Layering fixture types is what separates a good outdoor lighting plan from a great one. Rather than relying on a single high-powered fixture to do everything, combine ambient coverage (even background light), task lighting (bright, focused light at entry and parking), and accent lighting (directional, lower intensity on features). This approach fills in blind spots naturally and gives your property a finished, considered appearance.
Pro Tip: Plan your layers from the outside in. Start by ensuring boundary zones have enough ambient light for security, then add task lighting at functional areas, and fill in accent lighting last. This order prevents over-lighting and keeps you within compliance limits.
The guide on installing outdoor lighting for curb appeal goes deeper on placement and design choices specific to Calgary properties.
The overlooked truth about exterior light coverage for Calgary homeowners
Most outdoor lighting problems come down to one mistake: buying fixtures based on average brightness and hoping coverage follows. It does not. What affects light coverage most is not the highest lux reading on your property; it is the lowest one. Security cameras fail in dark corners, not bright ones. Intruders use shadows, not spotlights. The weak point in your coverage is what determines how secure your property actually is.
The most reliable way to prevent coverage surprises is planning coverage in layers and measuring illuminance at multiple points to catch minimum failures. That approach is not what gets featured in marketing materials, but it is what actually works.
There is another dimension that gets almost no attention: coverage plans need periodic review. Trees grow and start blocking fixtures. Fixtures shift after heavy snowfall. New structures cast shadows that did not exist at installation. What worked in Year 1 can develop blind spots by Year 3 without a single fixture failing. Building in a yearly check of your coverage, especially after Calgary winters that stress both fixtures and landscape, keeps your system performing as intended. The notes on maintaining exterior home lighting are worth revisiting every season.
The deeper issue is that most homeowners treat exterior lighting as a one-time installation decision. The best outcomes come from treating it as a system you monitor and adjust. Coverage is not a setting you dial in once and forget.
Discover permanent exterior lighting solutions designed for Calgary homes
If planning coverage from beam angles to bylaws feels like more than you want to manage alone, that is exactly where professional guidance pays off.
At Starise, we specialise in permanent outdoor lighting systems built specifically for Calgary's climate and compliance requirements. Our permanent lighting system uses Gen 2 24V LED technology with weatherproof construction designed to perform through Alberta winters without requiring annual reinstallation or maintenance. Every installation includes professional coverage planning to ensure your property meets both security goals and City of Calgary bylaws, with no light trespass toward neighbouring homes. For homeowners in the greater Edmonton area, our permanent lights Edmonton service brings the same approach to properties across the region. Contact us to discuss your property's coverage needs before your next season begins.
Frequently asked questions
What exactly defines exterior light coverage?
Exterior light coverage refers to how light is distributed across an area, shaped mainly by the fixture's optics and beam angle rather than just brightness or wattage.
How can I ensure my exterior lights don't bother my neighbours in Calgary?
Plan and aim your outdoor lights to avoid shining directly into neighbouring homes, controlling light direction and spill to meet City of Calgary bylaws and avoid fines ranging from $100 to $300.
Why is uniformity important in exterior light coverage?
Uniformity ensures light is evenly spread without dark spots, which is critical for safety and security because uneven lighting creates blind spots or uncomfortable glare rather than genuinely safe coverage.
How does mounting height affect light coverage?
Mounting lights higher allows the beam to cover a larger area but may reduce intensity; installation height combined with beam angle determines whether dark corners appear at the edges of your coverage zone.
What is the best way to plan outdoor lighting coverage for my home?
Plan coverage in layers, measure illuminance at multiple points including boundary and task areas, and validate with photometric data to ensure even lighting and compliance with local rules.